
Thousands of homes across Sun Prairie, Fitchburg, Monona and West Madison were built with sprayed-on popcorn ceilings. The texture hides imperfections, but it also collects dust, yellows over time, and makes even freshly painted rooms feel dated. Here's what a professional removal and repaint involves.
1. Test Before You Scrape
Popcorn texture applied before the 1980s can contain asbestos. Before any removal, a sample should be tested by a certified lab. If the result is positive, removal must be handled by a licensed abatement contractor. If it's clear, the project can move ahead safely.
2. Protect the Room
Removal is messy. Floors, walls and fixtures are covered in plastic, vents are sealed, and furniture is moved out. Good containment is the difference between a clean job and finding dust in your home for months.
3. Scrape, Skim and Sand
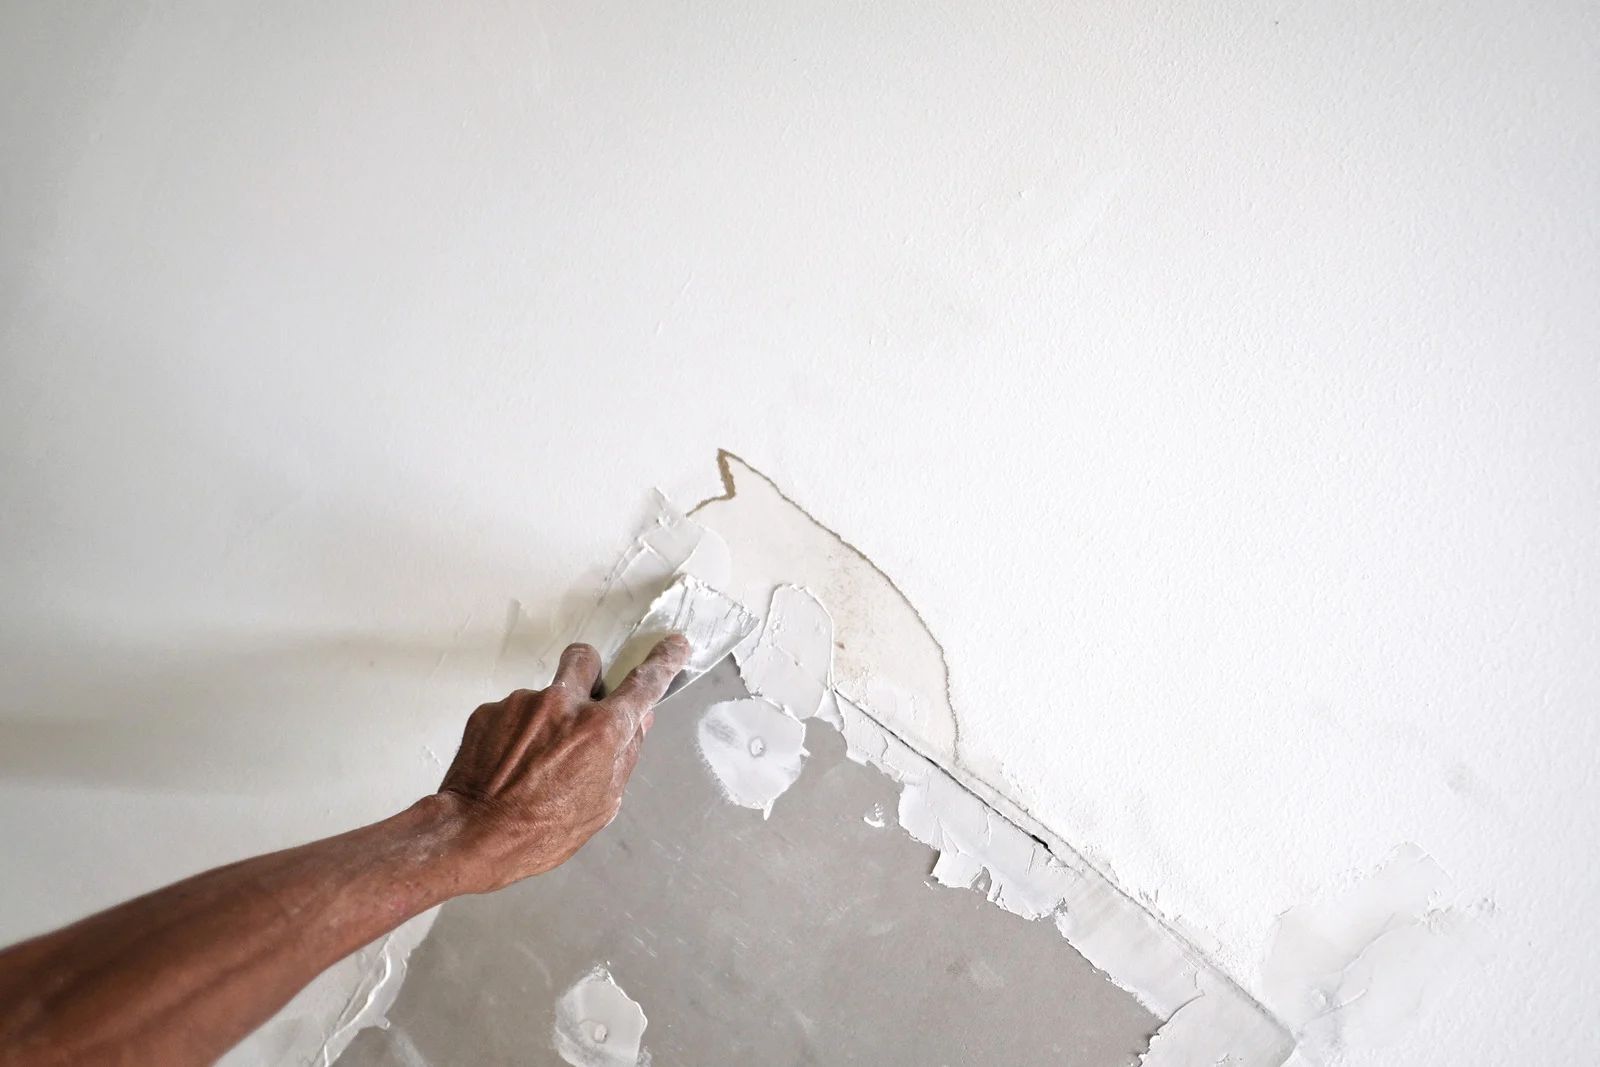
The texture is softened with water and scraped away. What's underneath is rarely perfect — seams, tape lines and dings show up immediately. Those areas get a skim coat of joint compound, then sanding until the surface is smooth. This is the same careful process we use for drywall repair.
Why Skim Coating Matters
Paint doesn't hide flaws on a flat ceiling — it highlights them, especially with light from windows. Skipping the skim coat is the most common reason DIY removals look worse than the popcorn did. See why proper drywall repair is crucial before painting.
4. Prime and Paint
New compound needs a primer to seal it, followed by a flat ceiling paint that minimizes glare and shadows. Most homeowners choose a bright white, but a slightly tinted ceiling can warm up a room nicely.
5. Is It Worth It?
Smooth ceilings make rooms feel taller and more modern, and they're a strong selling point if you plan to list your home. Pair the project with fresh walls through our interior painting service, then request a free estimate to get exact pricing for your rooms.